

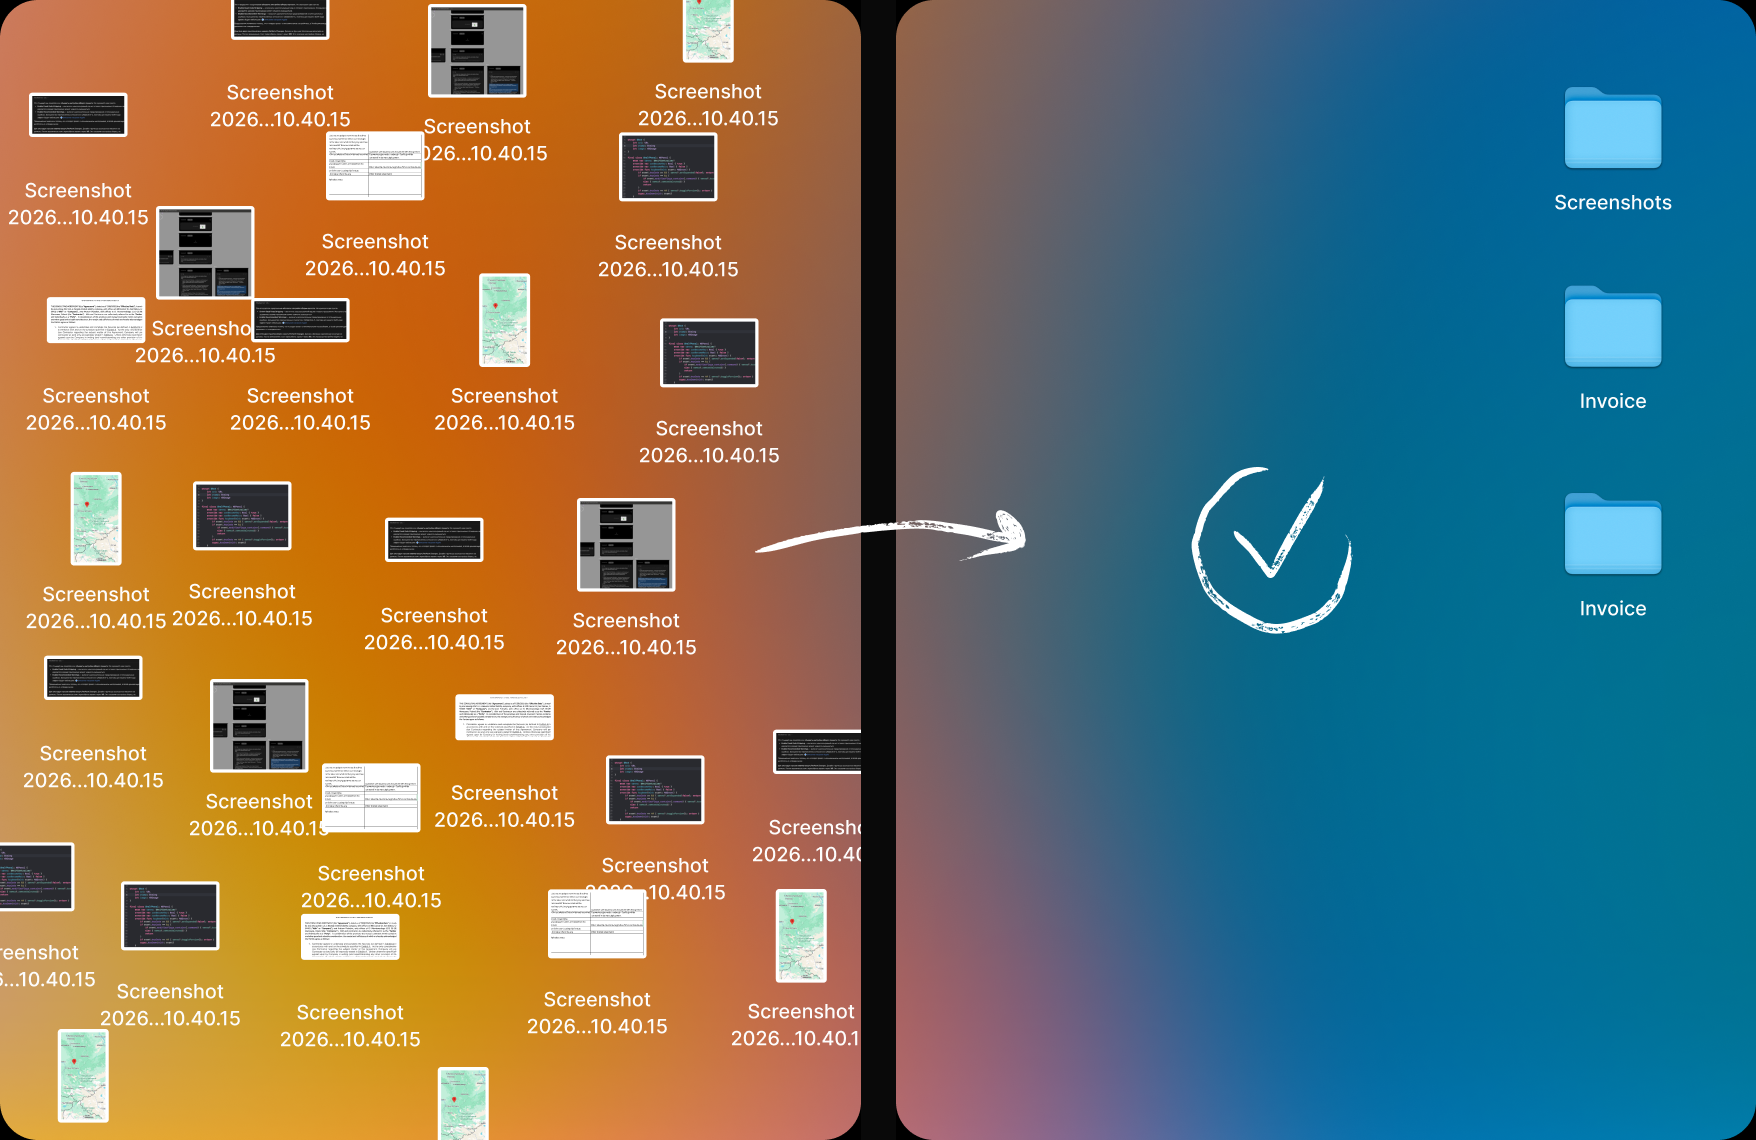
A screenshot might only be useful for one message. Others belong with a project for weeks. Keeping both kinds on the desktop makes it harder to spot the file you actually need.
Give new screenshots a home
Create a folder called Screenshots inside Pictures, or choose another location you’ll remember. Then point the Mac’s Screenshot app at it:
- Press Shift + Command + 5.
- Open Options in the screenshot toolbar.
- Under Save to, choose Other Location and select your Screenshots folder.
- Take a screenshot and check that it appears in the folder.
This changes the destination for future captures. It doesn’t move the screenshots already on your desktop. To switch back, choose Desktop in the same menu. Apple describes the available destinations in its Screenshot options guide.
If you’re unsure where a capture went, start with how to find screenshots on your Mac.
Move the screenshots already on your desktop
Open the Desktop folder in Finder and select the screenshots you want to keep. Move those files into your new Screenshots folder. Review your selection first so you don’t move unrelated documents with it.
Give important captures a useful name, such as “Checkout error” or “Homepage feedback,” and keep them with the project they belong to. A date alone rarely tells you why you saved an image.
For captures you no longer need, move them to Trash. If you change your mind before it’s emptied, select the file in Trash and choose File → Put Back. Emptying Trash permanently removes its contents; see Apple’s guide to deleting and restoring files.
Use Stacks for a quick tidy-up
If you want to leave files on the desktop, click an empty area and choose View → Use Stacks. You can also Control-click the desktop and choose Use Stacks.
Stacks groups files visually; the files still live on your desktop. Click a stack to see what’s inside. Use View → Group Stacks By to choose how they’re grouped. Turn off Use Stacks to show the individual files again. Apple’s Stacks guide covers the grouping options.
Stacks is useful when you need a tidier view right now. A dedicated save folder also keeps tomorrow’s captures off the desktop.
Skip the file for a one-off capture
For an image you only need to paste into a message, hold Control while taking the screenshot. For a selected area, press Control + Shift + Command + 4, then select the area.
Paste it with Command + V into an app that accepts images. This copies the capture to the clipboard instead of saving a file, as described in Apple’s screenshot guide. Save a file instead if you’ll need a lasting copy.
Keep useful screenshots within reach
Archie gives you a place to reach for screenshots while you work. They stay in your chosen folder, and you can open Archie’s panel at the notch to drag a capture into another app.
In Settings → Features, Screenshots folder lets you choose where new macOS screenshots and recordings save. Auto-clean can move older captures to Trash after the period you choose. It also applies to existing images and recordings in that folder and its subfolders, so use a dedicated capture folder and pin anything you want to keep.
Choose Never if you prefer to review files yourself. Turning Auto-clean off stops future cleanup; it doesn’t restore files already moved to Trash.
Try Archie’s interactive demo